Day 66: How to Bandage a Wound in the Field
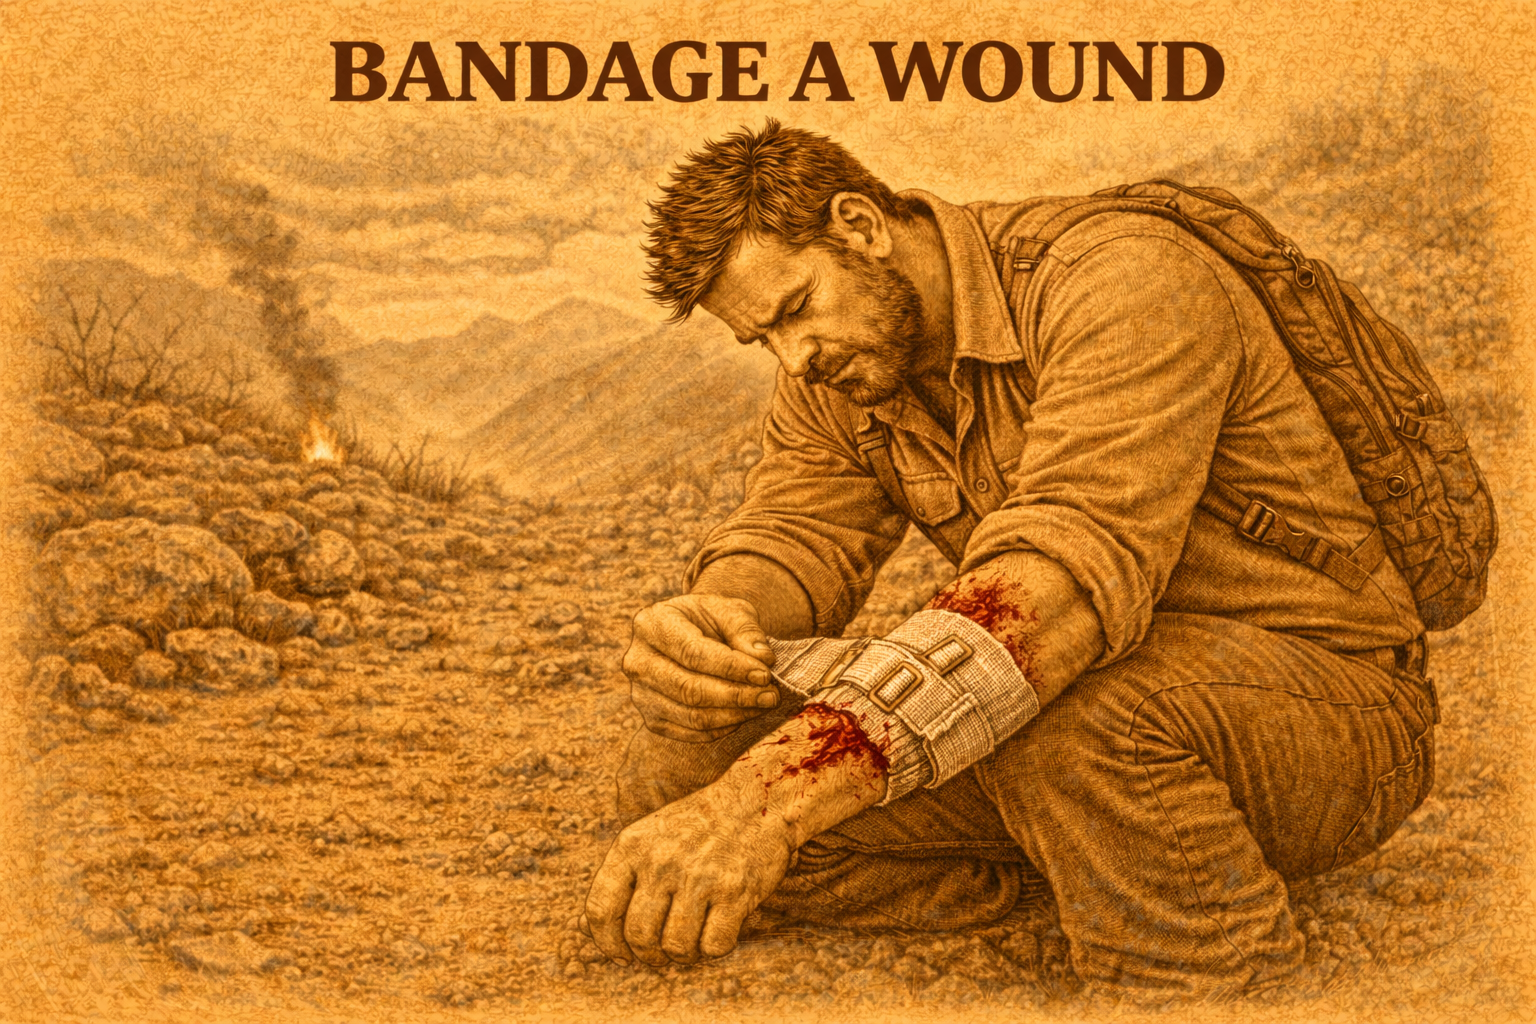
In the field, there’s no clean room.
No med cart.
No second chance.
A bad wrap can make things worse.
A good one can stop bleeding, seal the wound, and buy you time.
This is how it’s done with 0 fluff.
What It Does
Stops heavy bleeding fast
Applies constant pressure without needing your hands
Protects the wound from dirt and infection
Keeps you mobile instead of stuck holding pressure
Works with real injuries: not textbook cuts
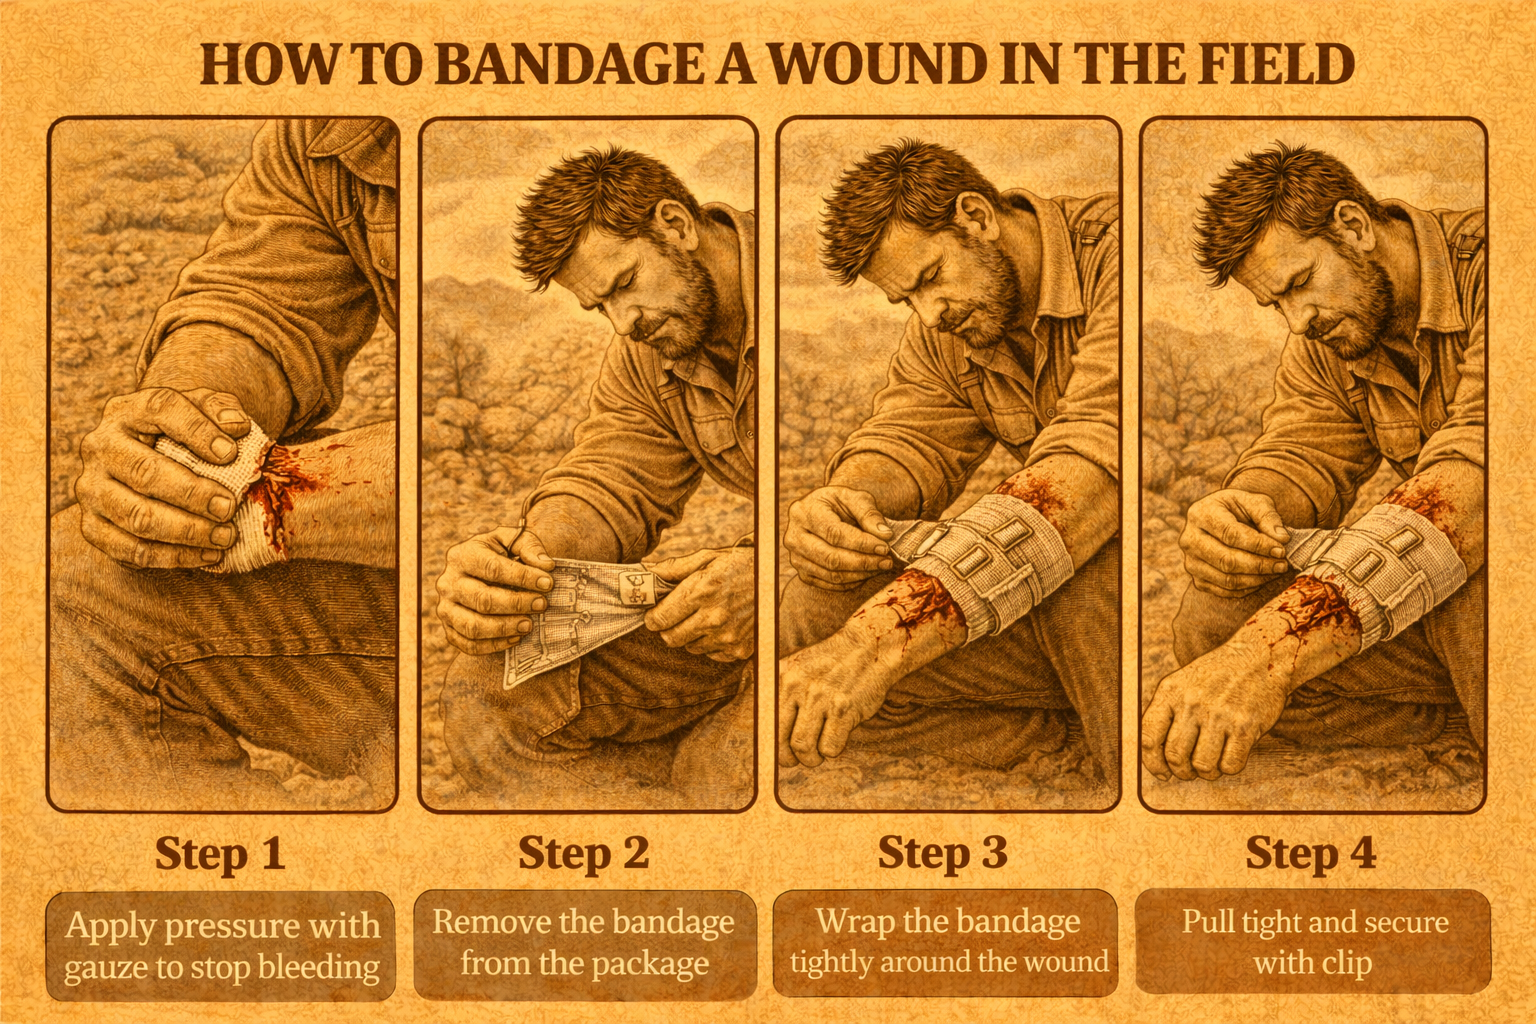
How to Do It (Field Method)
1. Expose the Wound
Cut or tear clothing away. You need to see where the blood is coming from — guessing wastes time.
2. Apply Direct Pressure
Place a pad, cloth, or compression surface directly on the wound. Press hard. Bleeding stops from pressure, not wrapping.
3. Wrap With Tension
Wrap the bandage firmly around the limb or area. Each pass should add pressure, not just coverage.
4. Lock the Pressure In
Use the wrap to anchor the pad in place so pressure stays constant — even when you move or let go.
5. Secure It Tight (Not Deadly)
The wrap should be snug and stable, but not cutting off circulation. Check fingers or toes below the bandage.
6. Don’t Peek
If blood soaks through, wrap over it. Removing the bandage breaks clots and restarts bleeding.
If Bleeding Won’t Stop
Add more pressure.
Add more wrap.
Elevate if possible.
Uncontrolled bleeding is minutes away from fatal.
Tips
Pressure beats perfection
Clean matters, but stopping blood matters more
Recheck every 15–30 minutes
If numbness or color change happens — loosen slightly
Bottom Line
In the field, bandaging is about control.
Control the bleed.
Control the pressure.
Control the outcome.
Do this right, and you turn a life-threatening wound into a survivable one.