

THE SKILLS.
THE SKILLS.
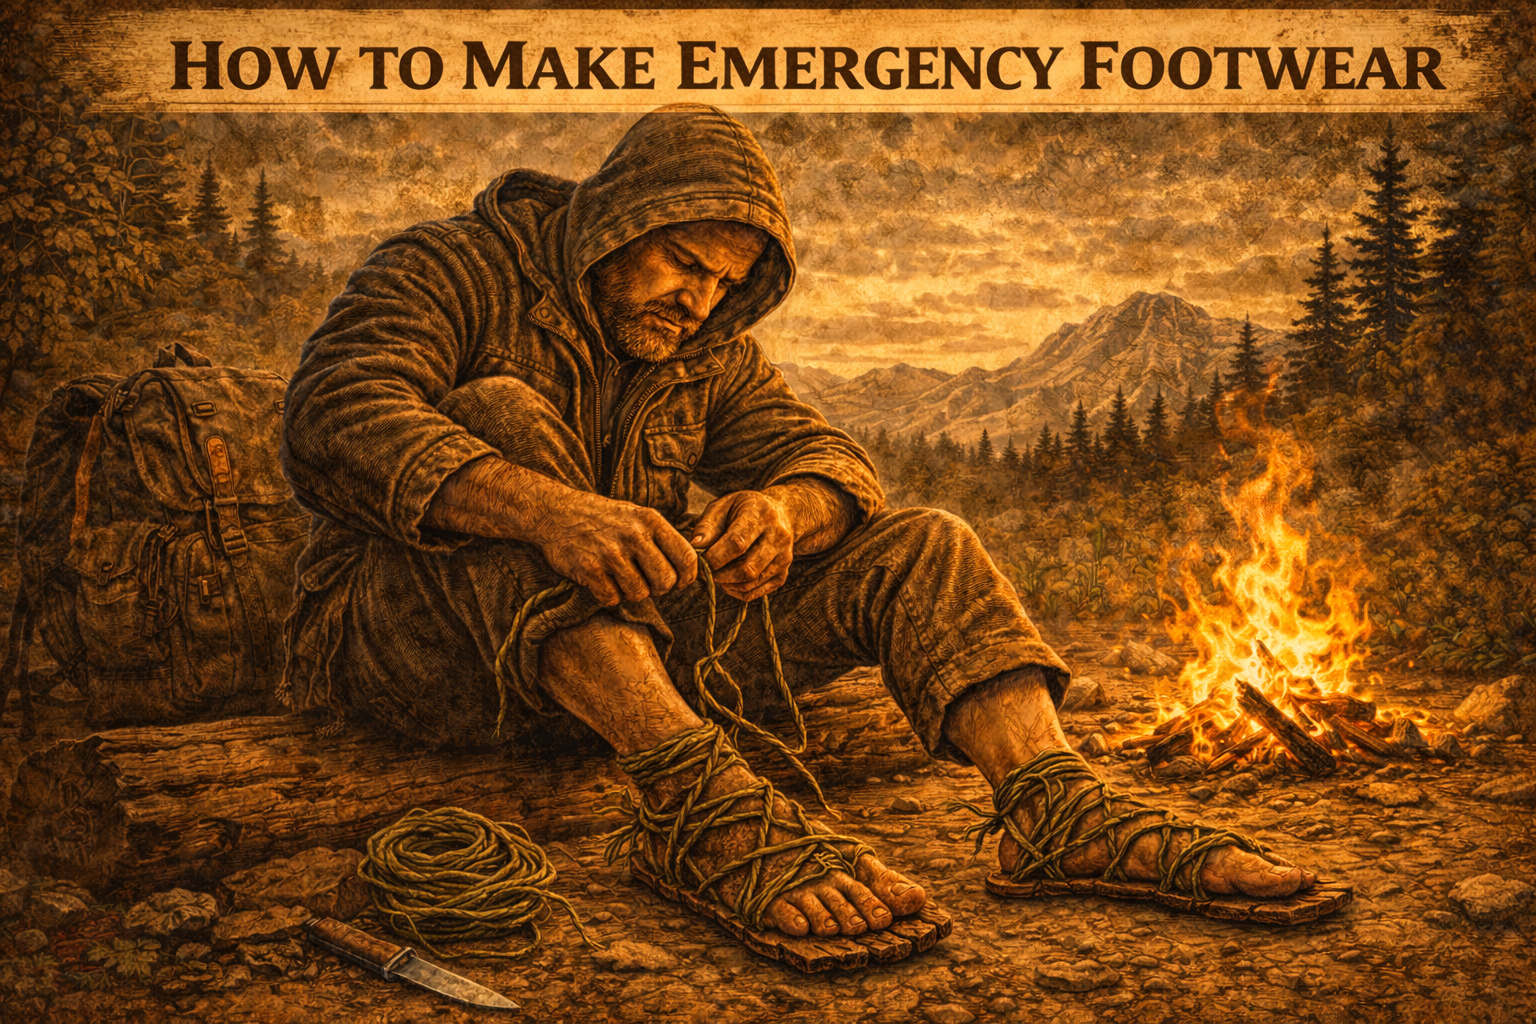
How to Make Emergency shoes: Skill 76
stay skilled
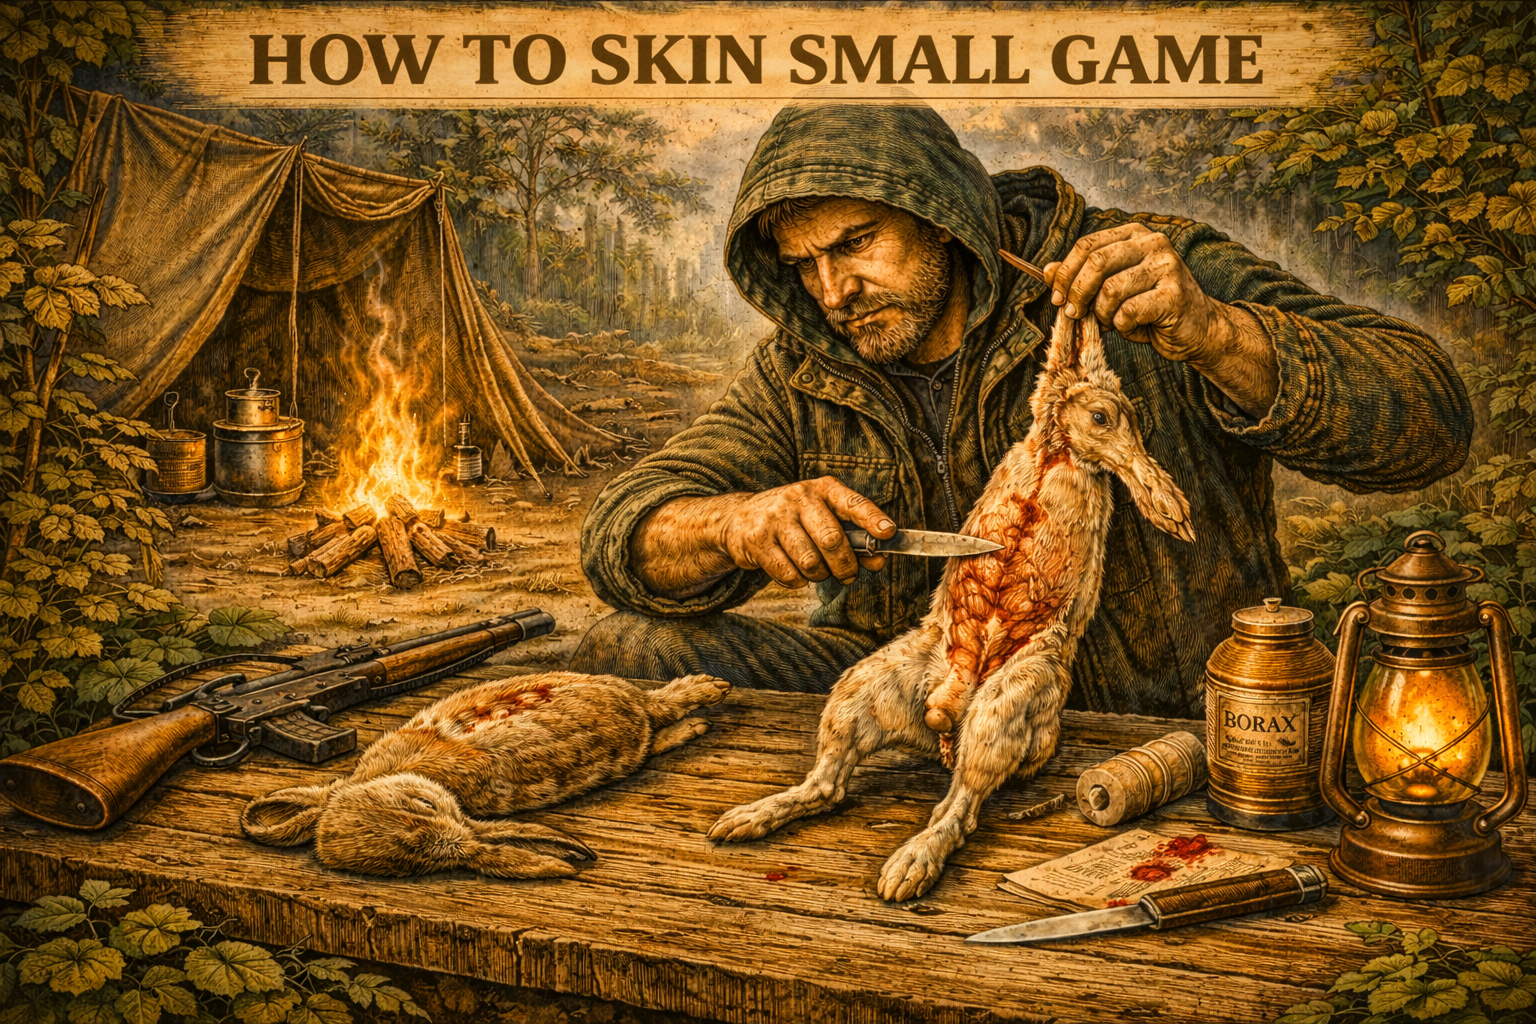
How to Skin Small Animals: Skill 75
skills come first
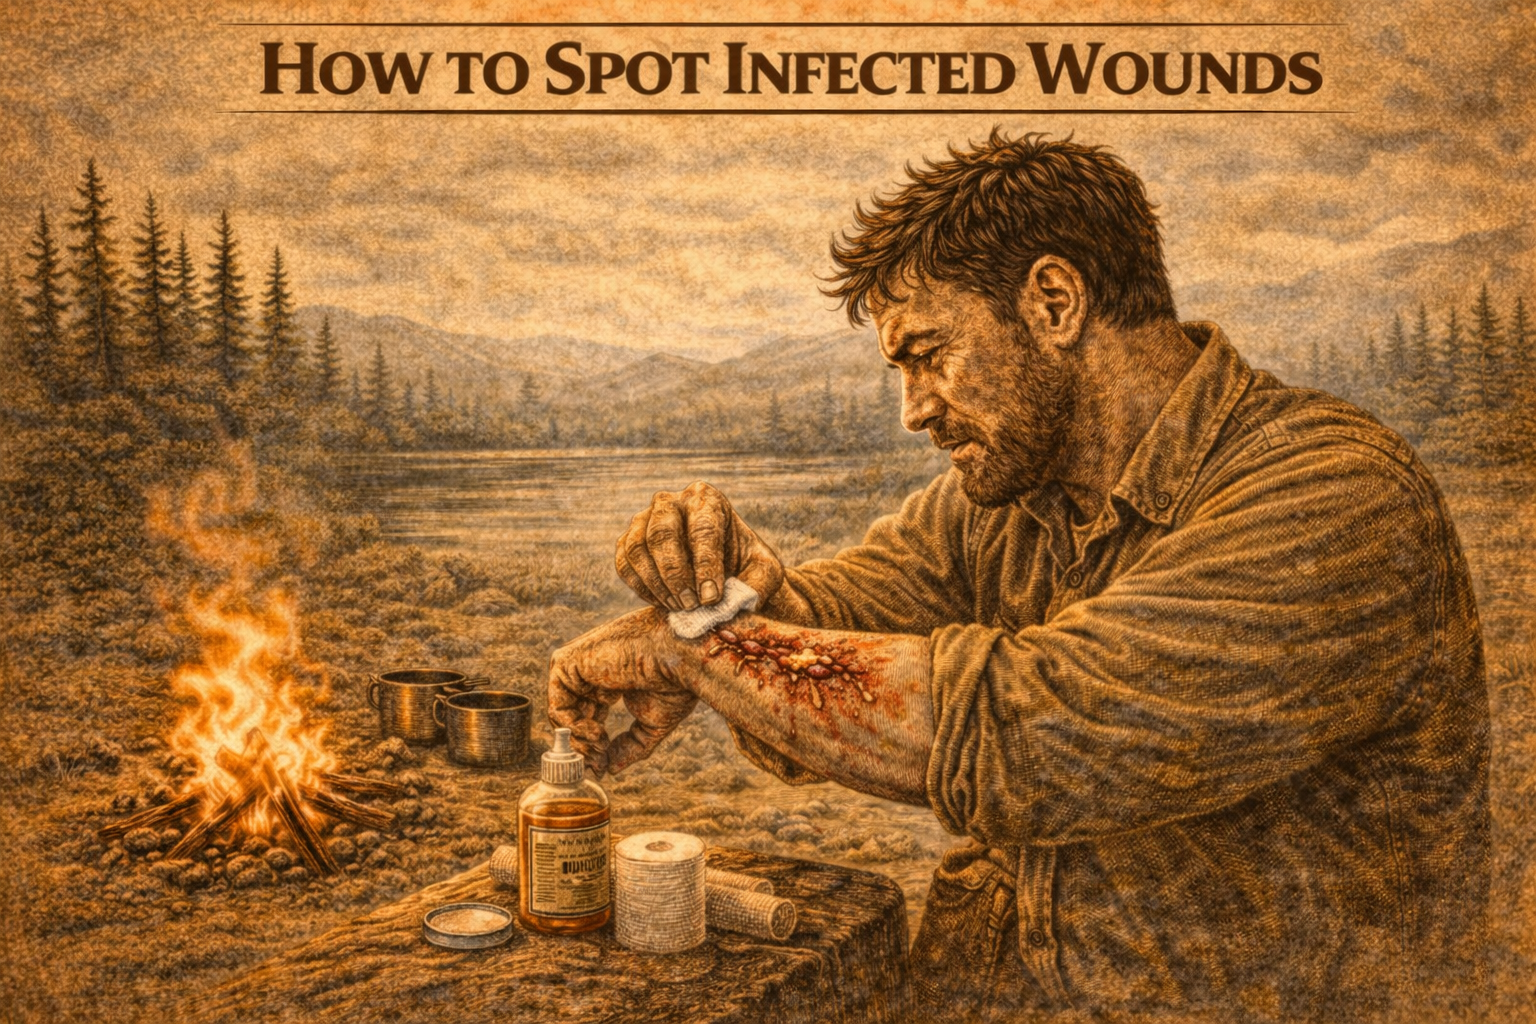
How to Spot Infections: Skill 74
live calm.

How to Drink water From Vines: Skill 73
Trust Instincts
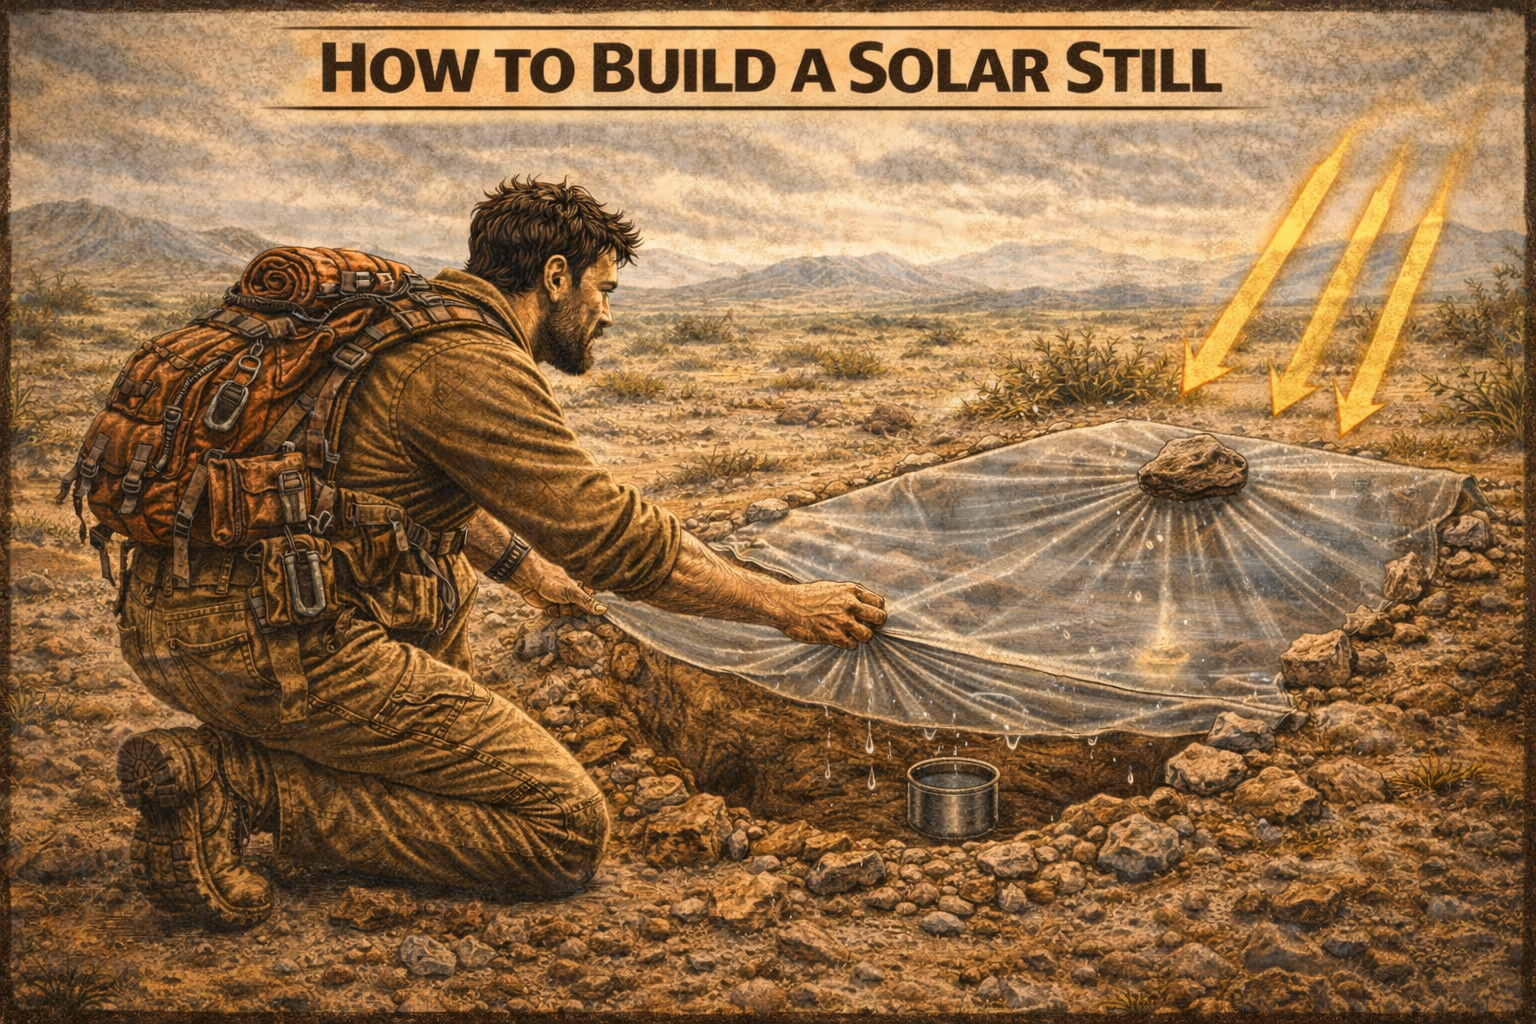
How to Build a Solar Still: Skill 72
Trust Instincts
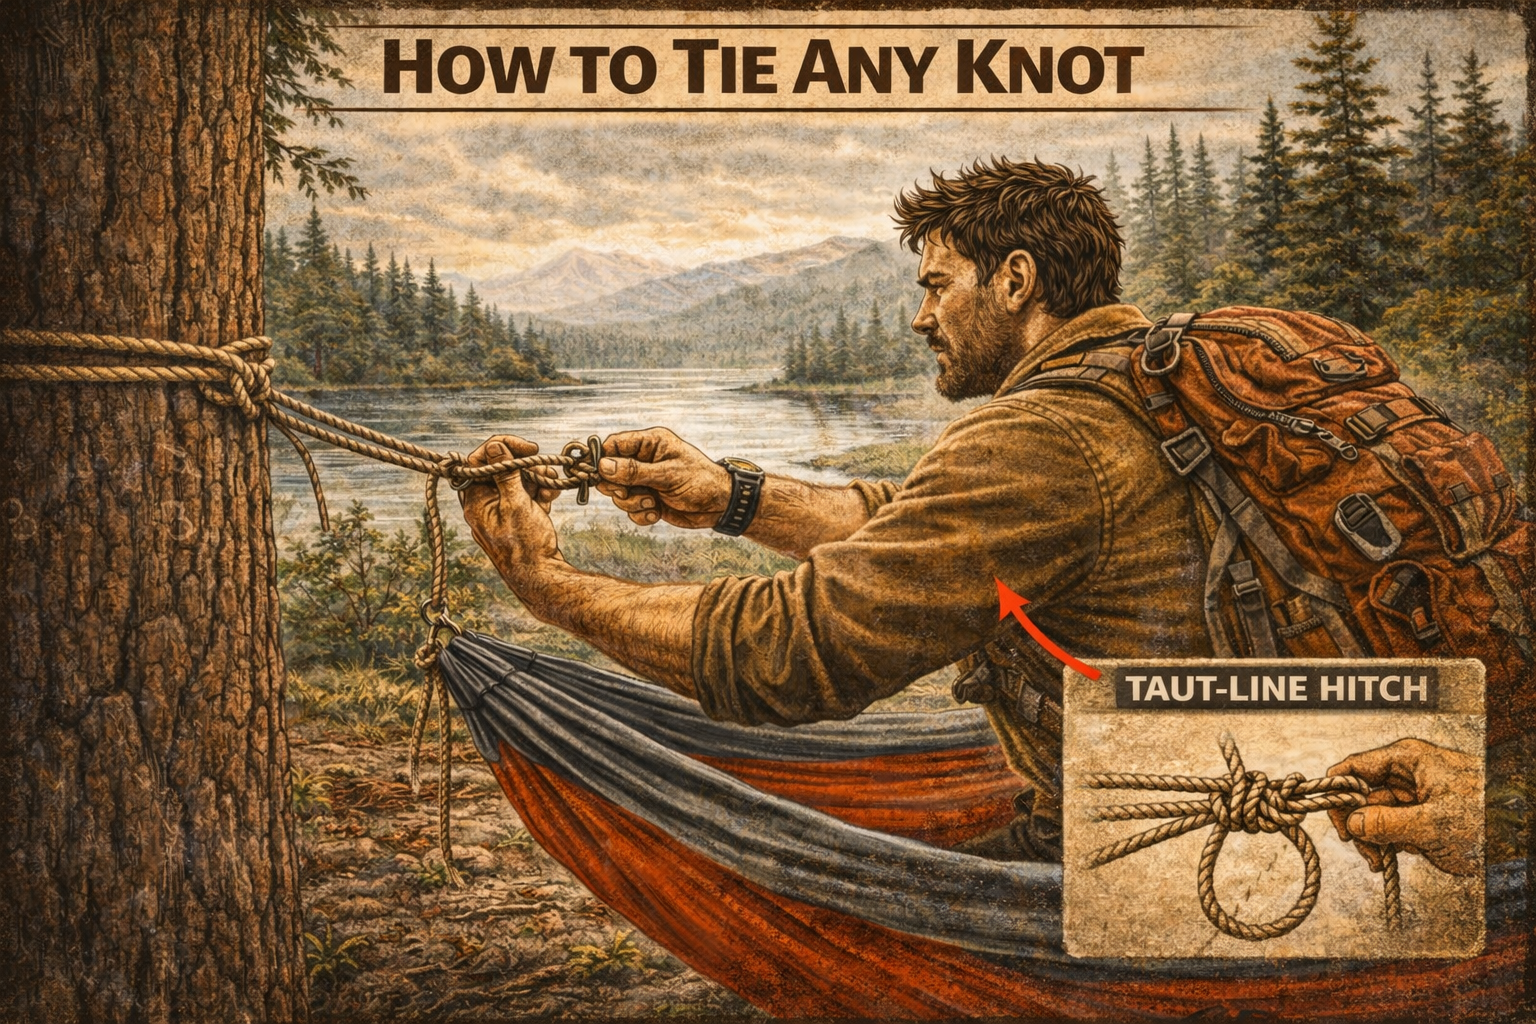
How to Tie Any Knot: Skill 71
Move Quietly
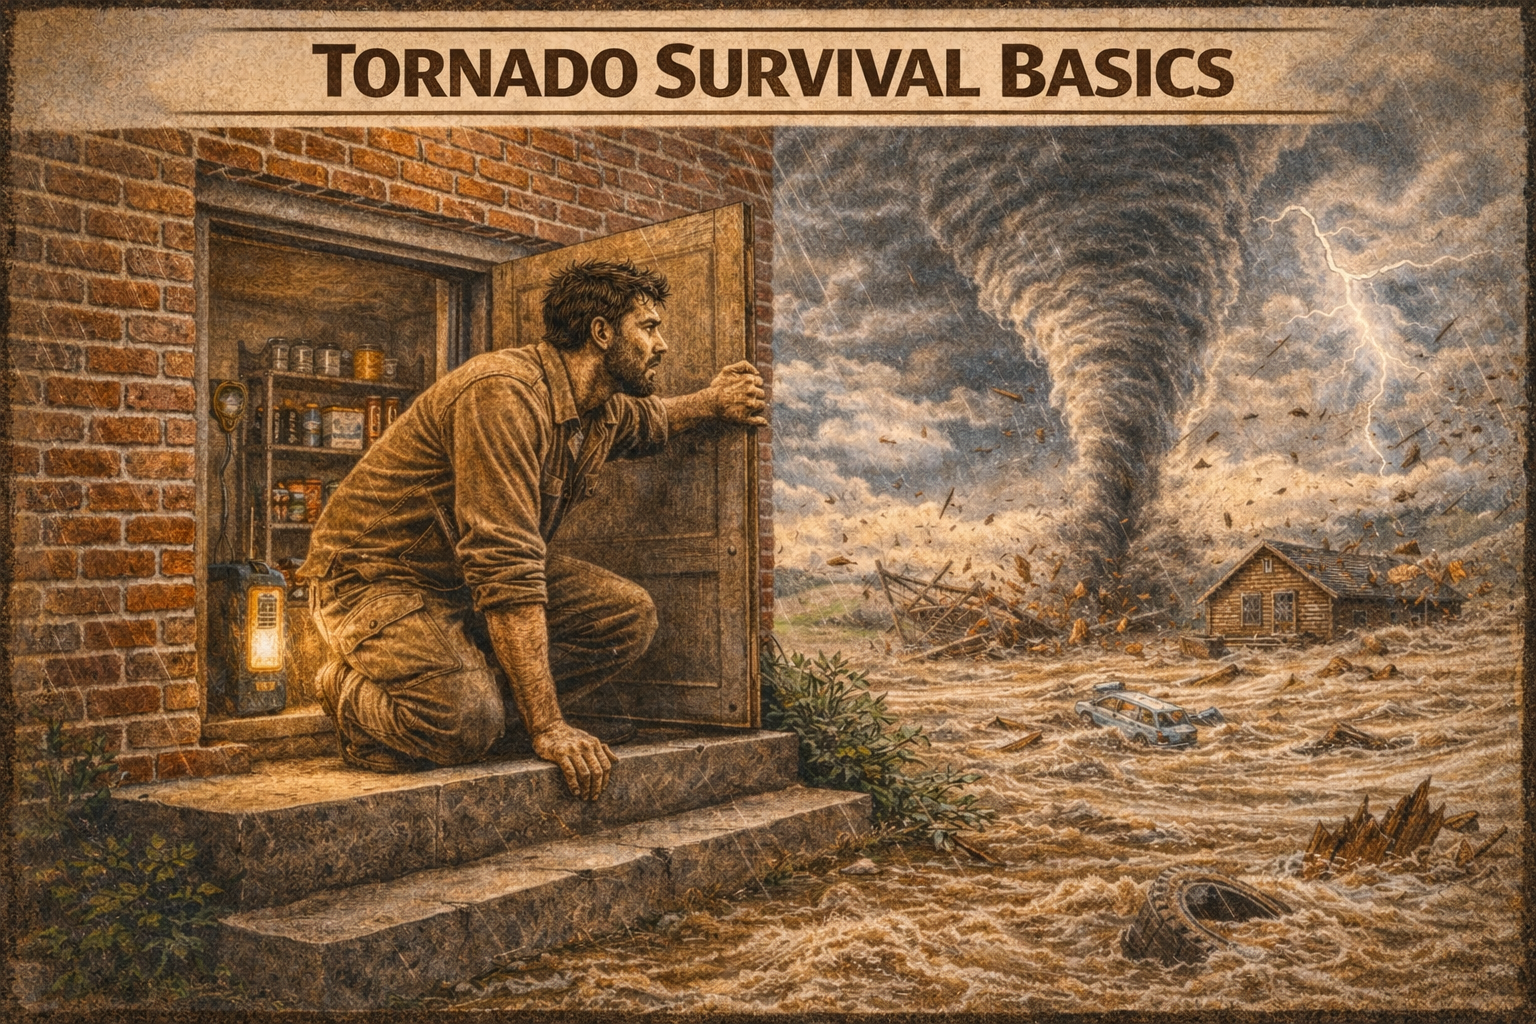
Tornado Survival Basics: Skill 70
Trust Instincts
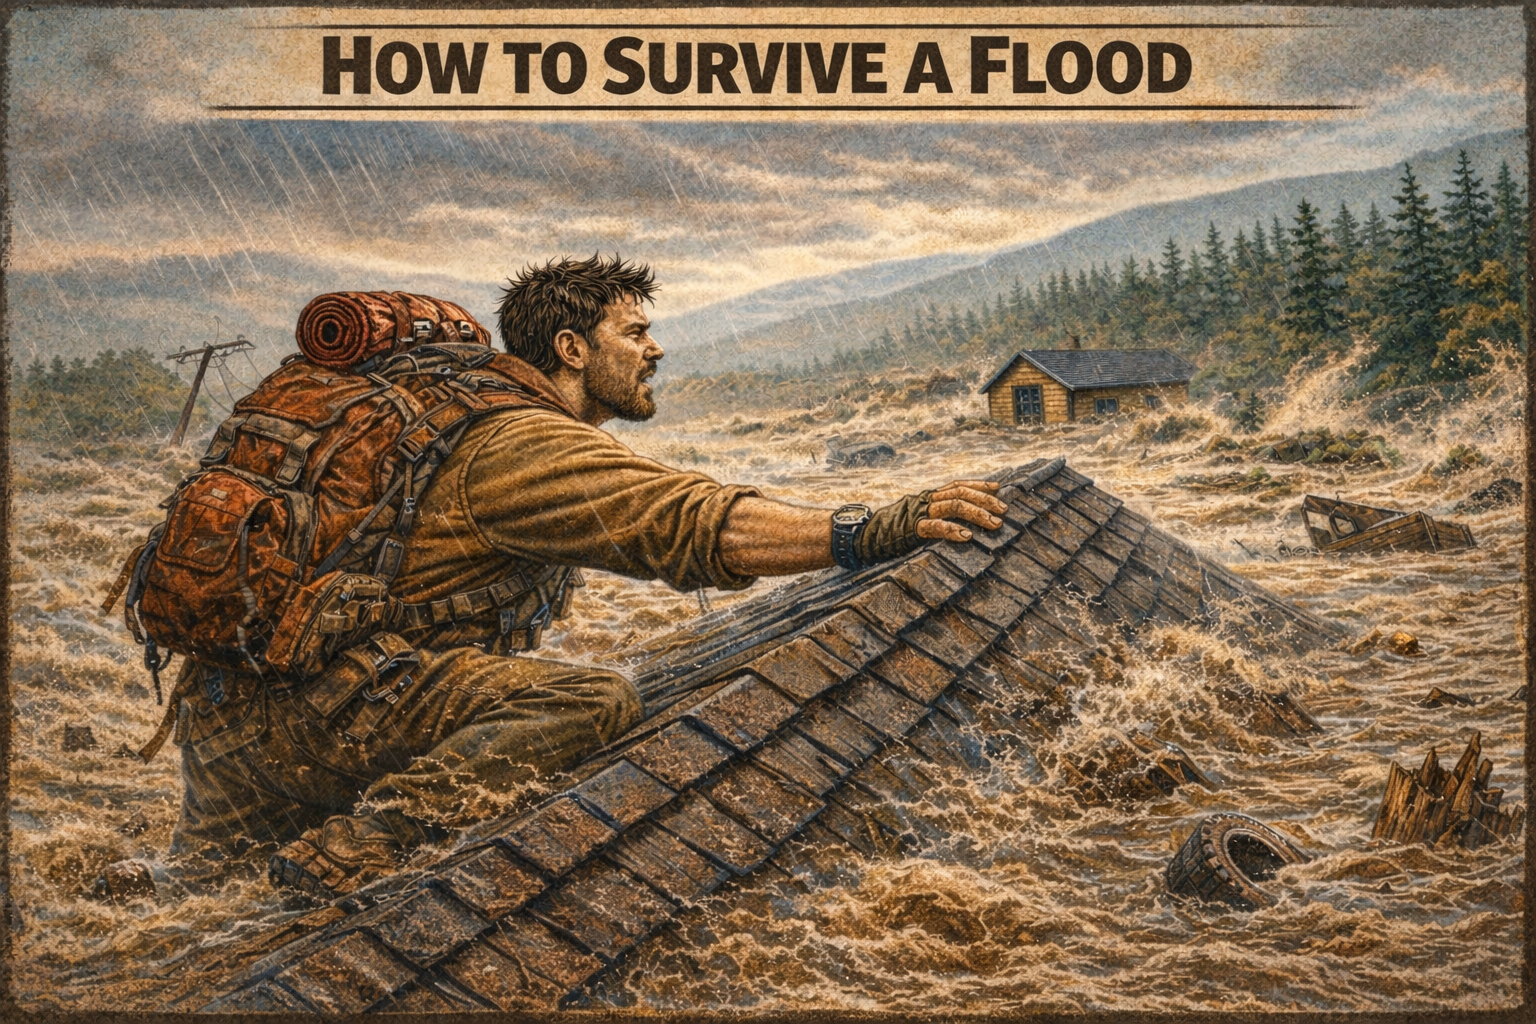
Flood Survival Basics: Skill 69
Stay Mobile
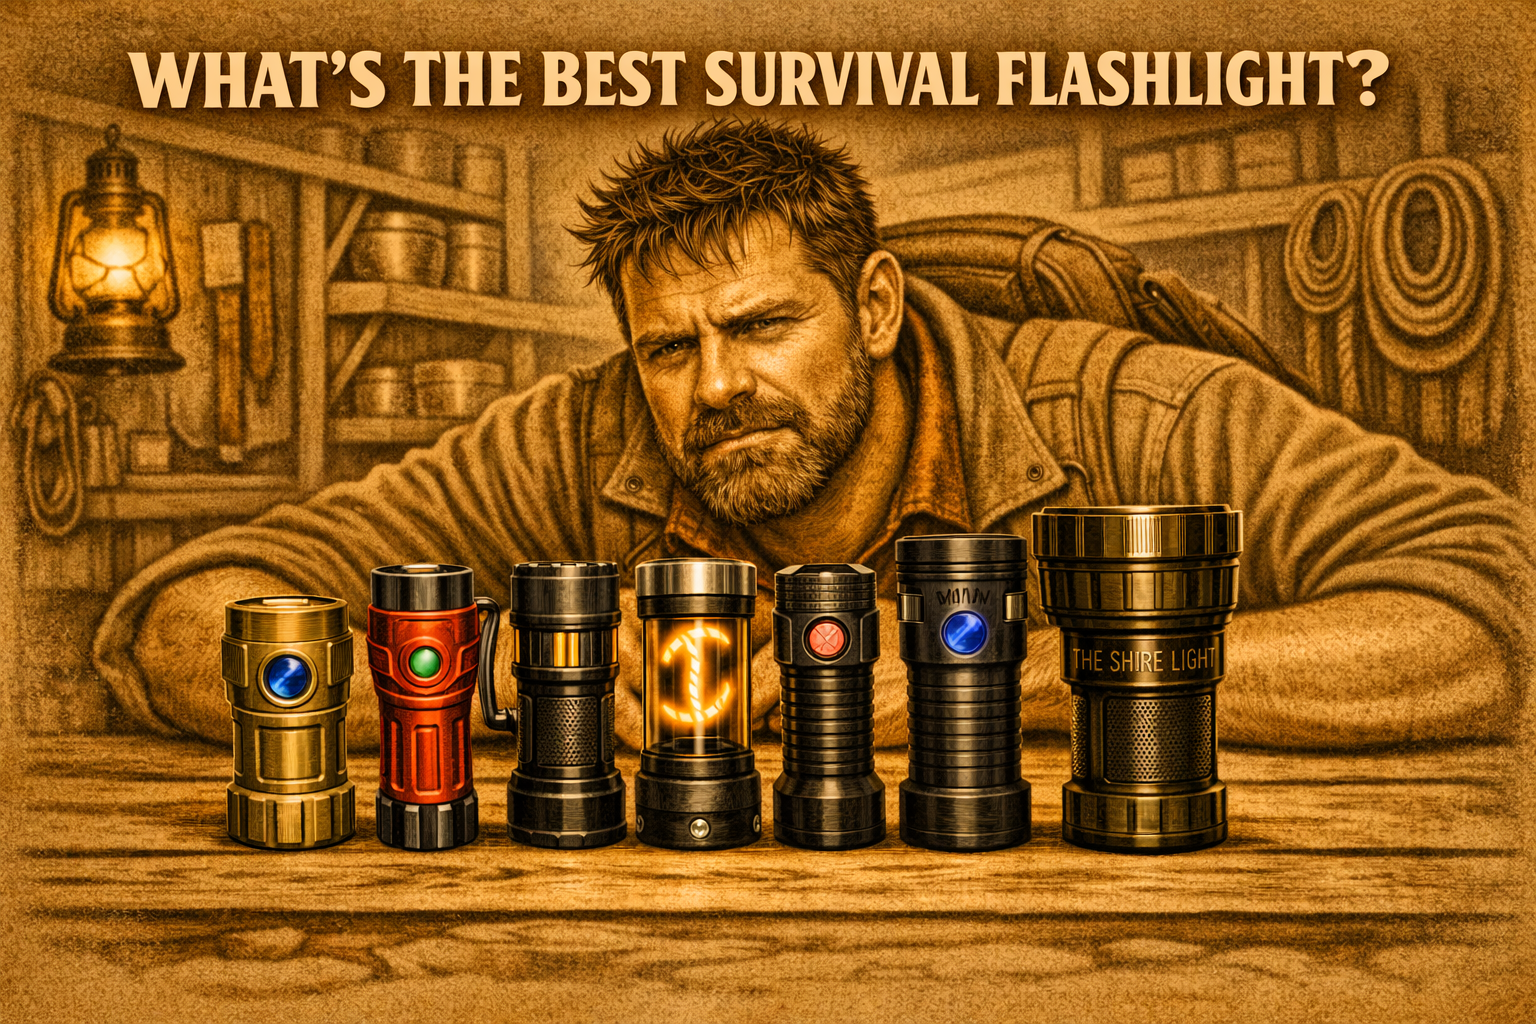
What’s the Best Flashlight?: Skill 68
Conserve Energy
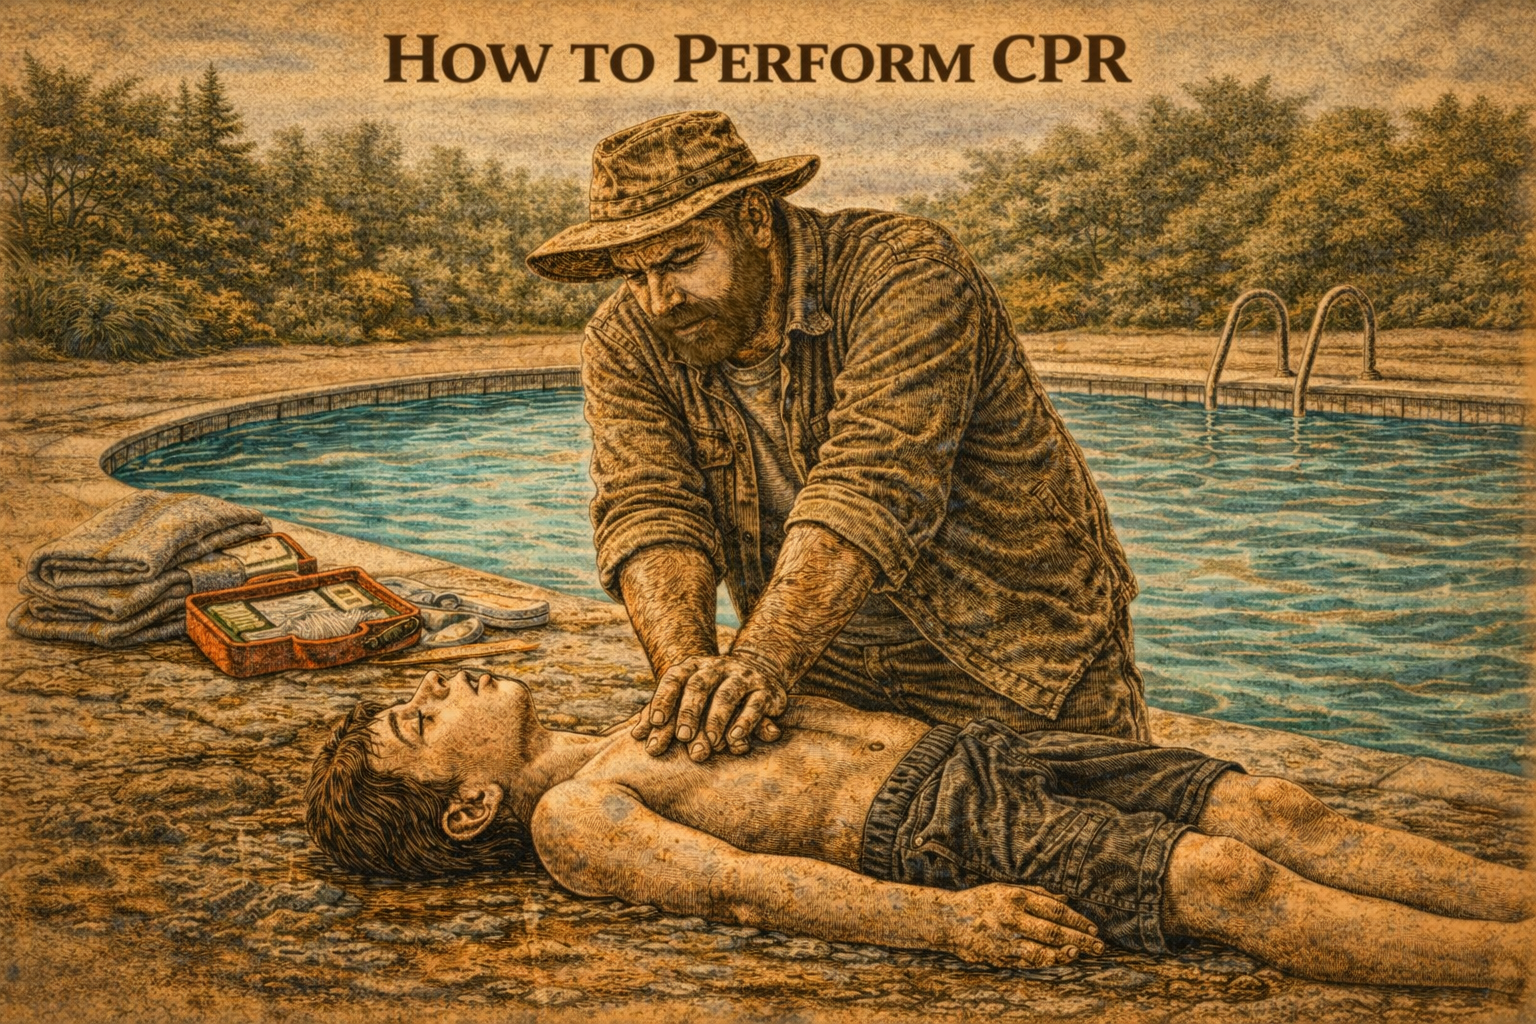
How to Perform CPR: Skill 67
Stay Alert
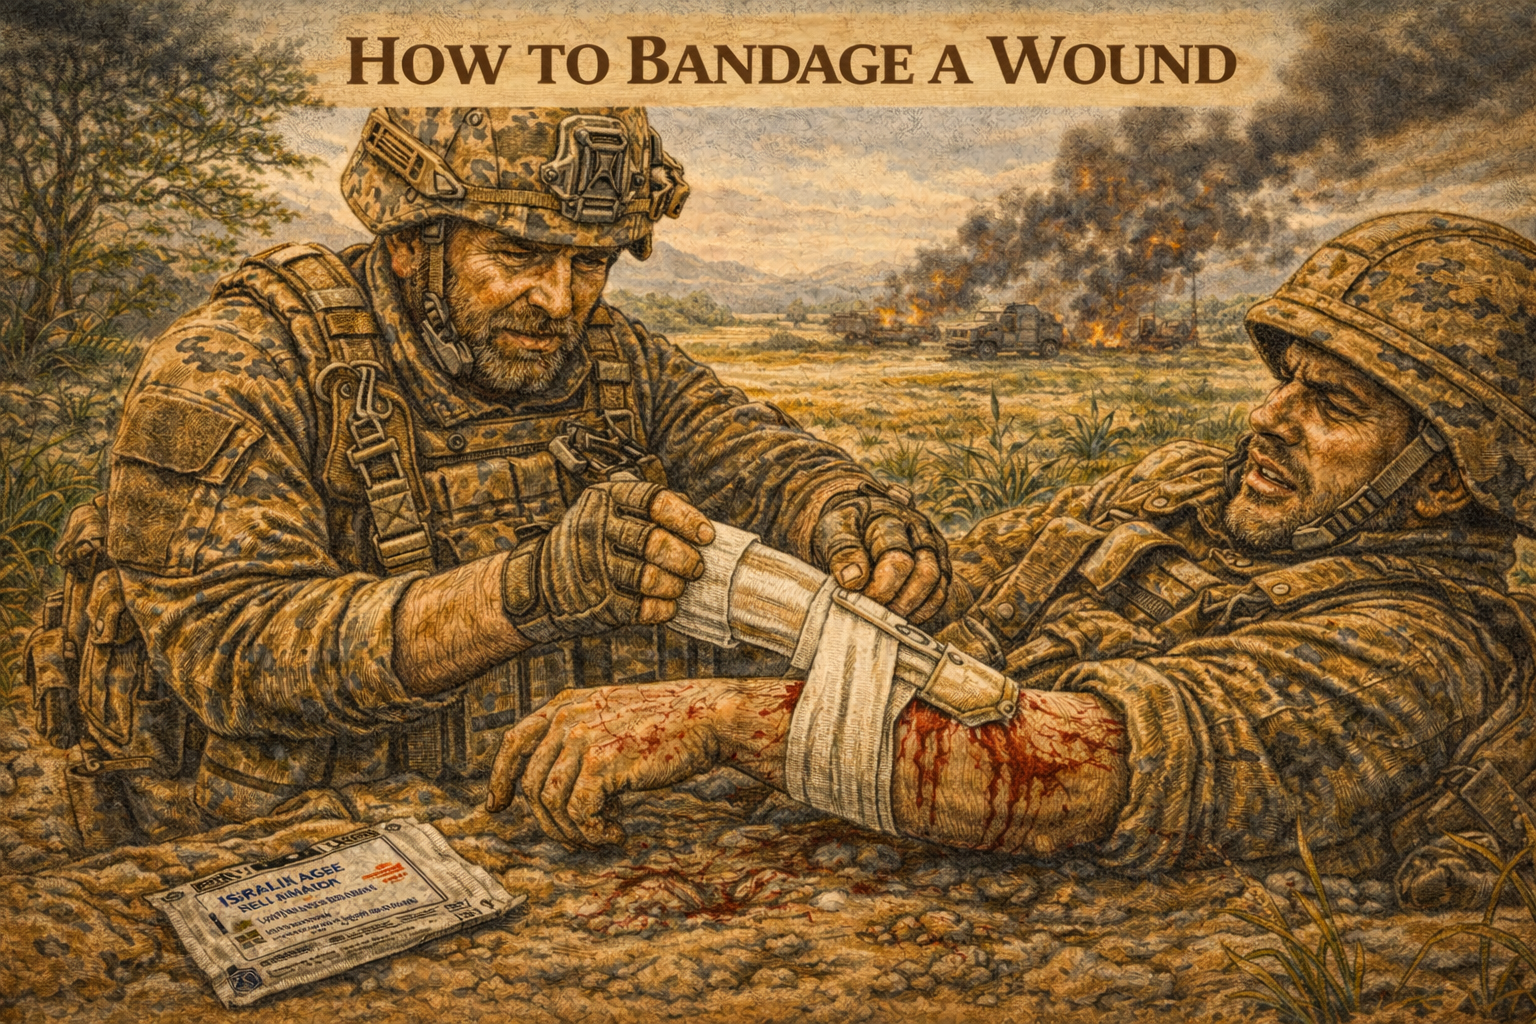
How to Bandage Any Wound: Skill 66
Never stuck. Never still.
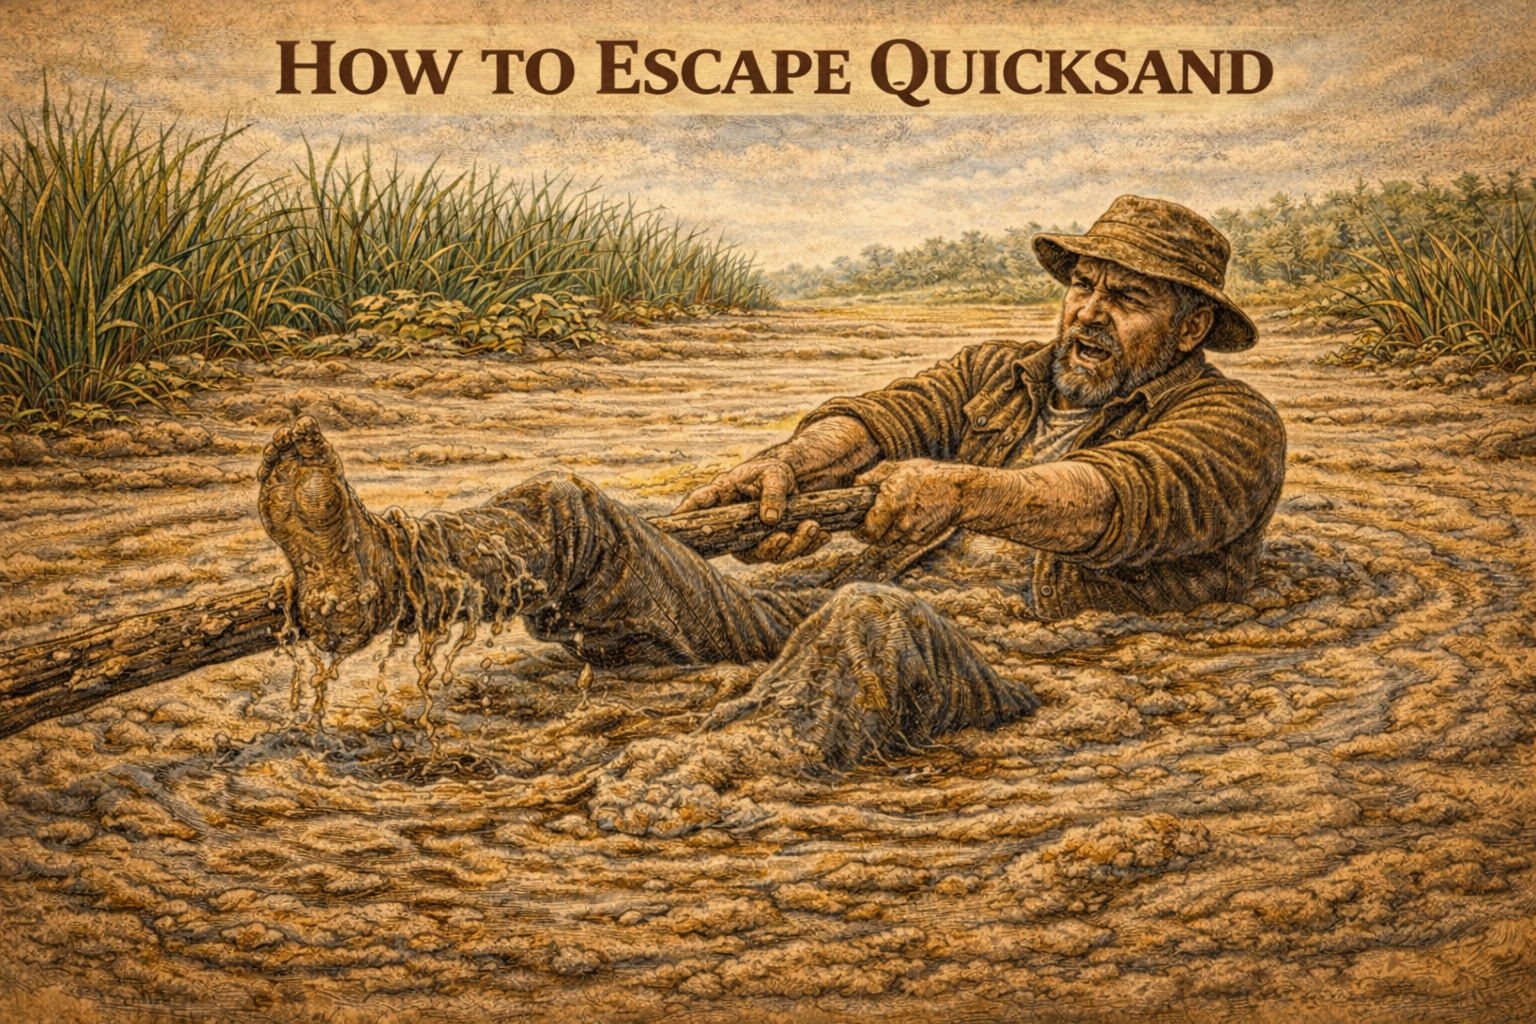
How to Escape Quicksand: Skill 65
Never stuck. Never still.
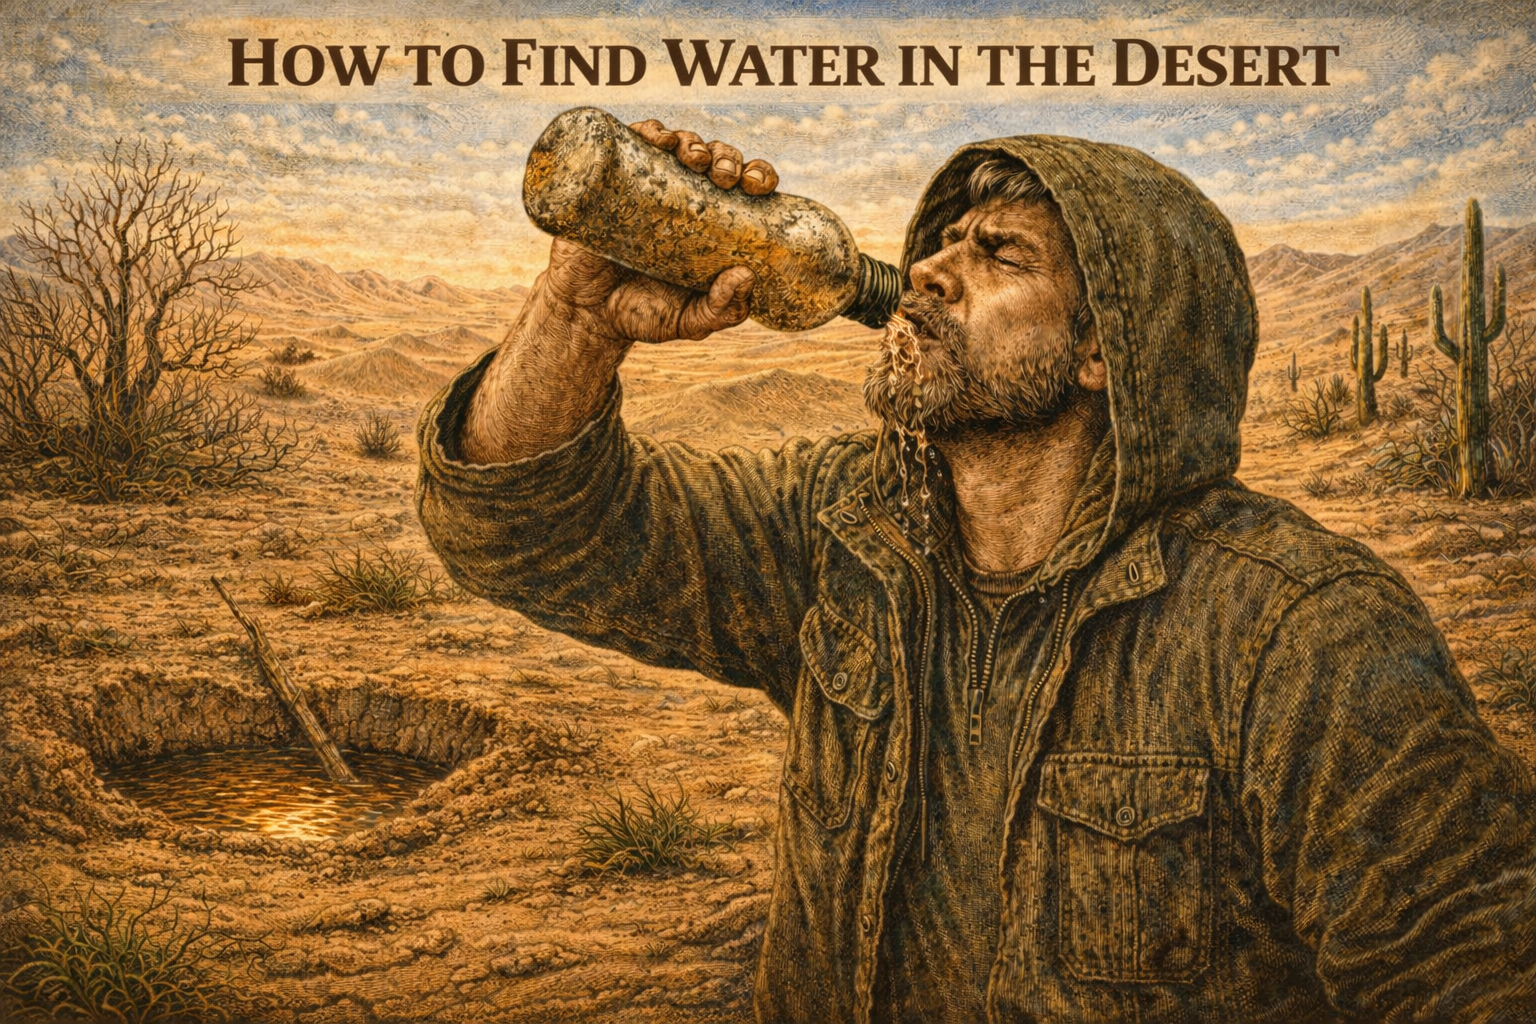
How to Find Water in the Desert: Skill 64
Calm crushes chaos.
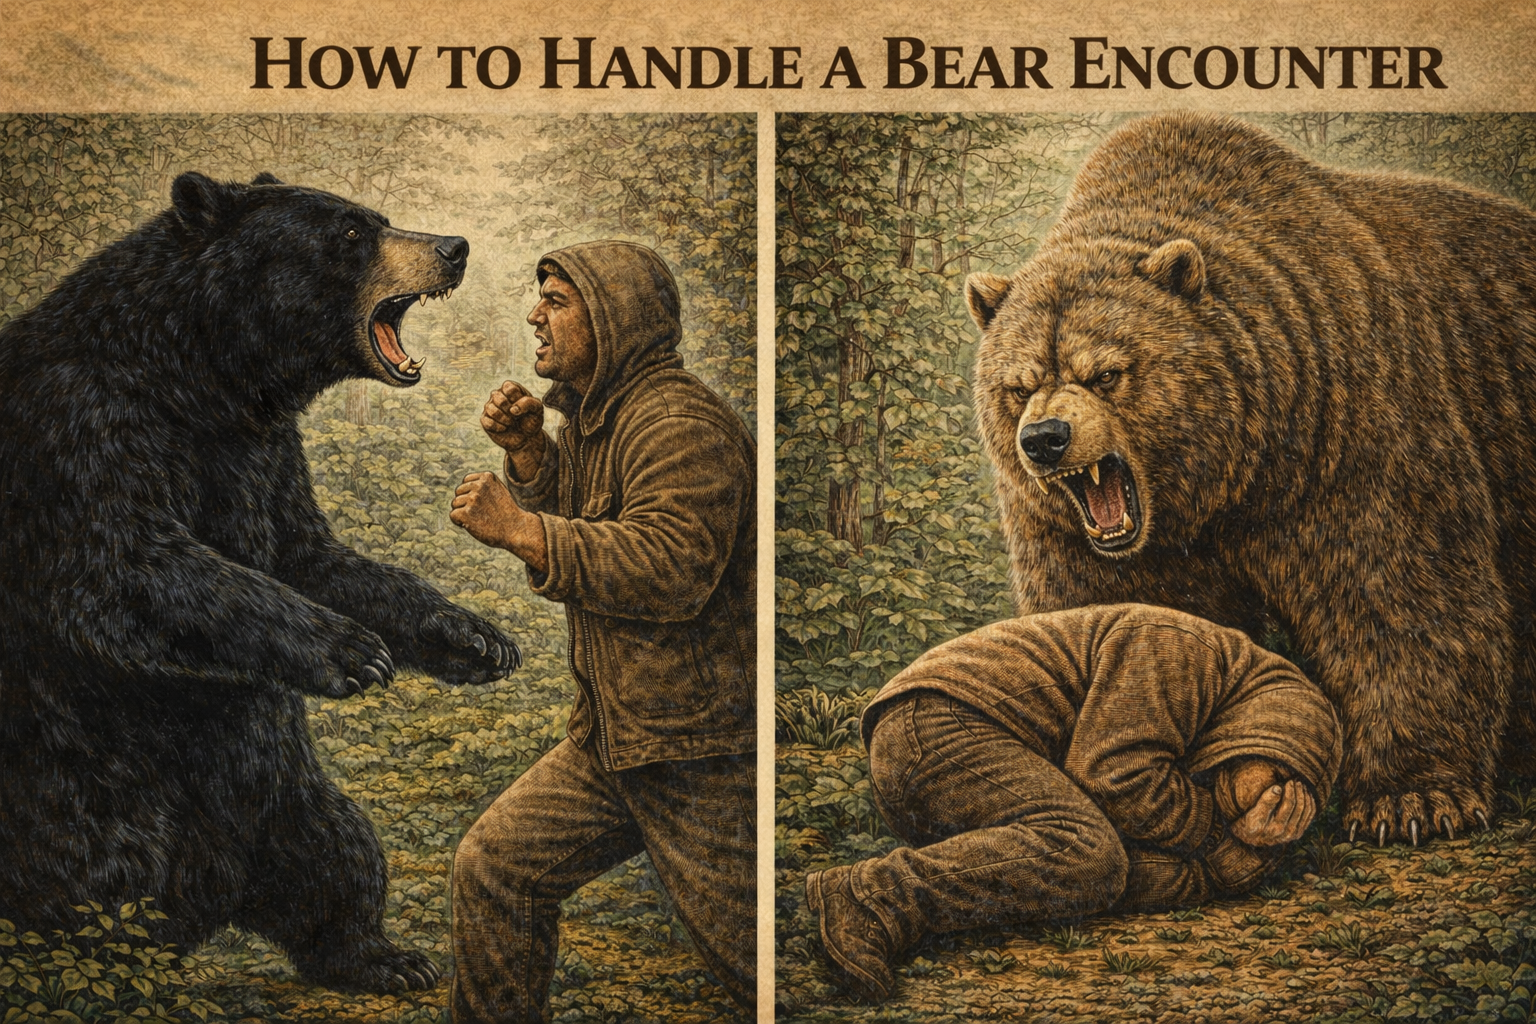
How to Handle a Bear Encounter: Skill 63
Earned, never given.
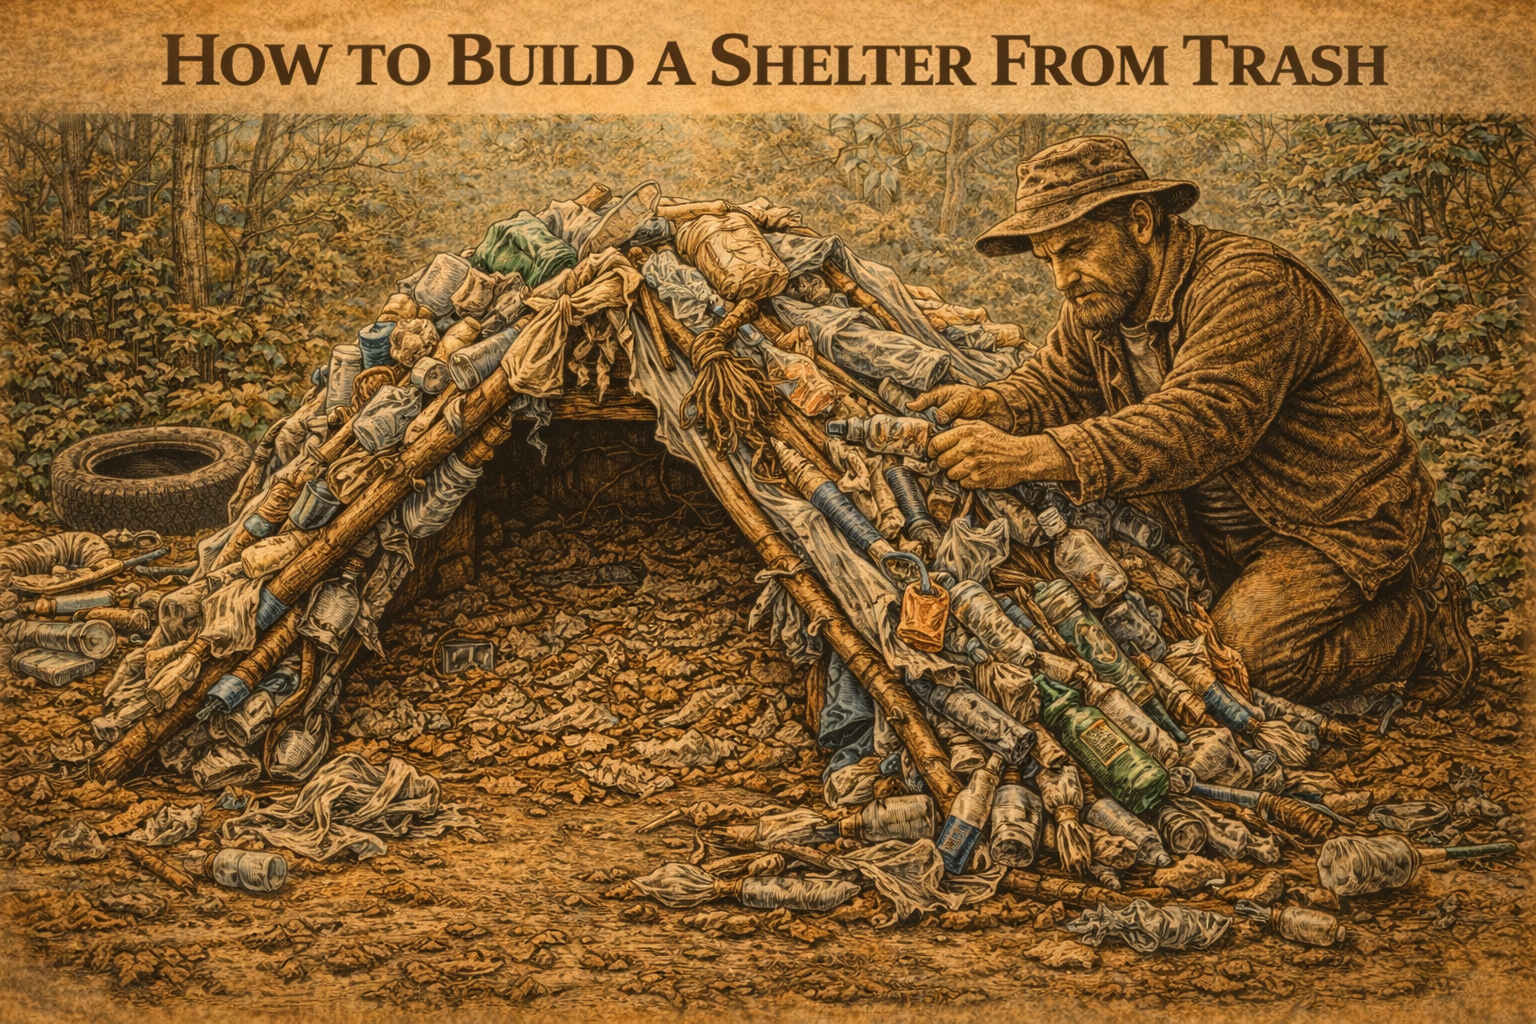
How to Build a Shelter From Trash: Skill 62
Slow is steady.

How to Stay Warm With No Fire: Skill 61
Stay calm always.
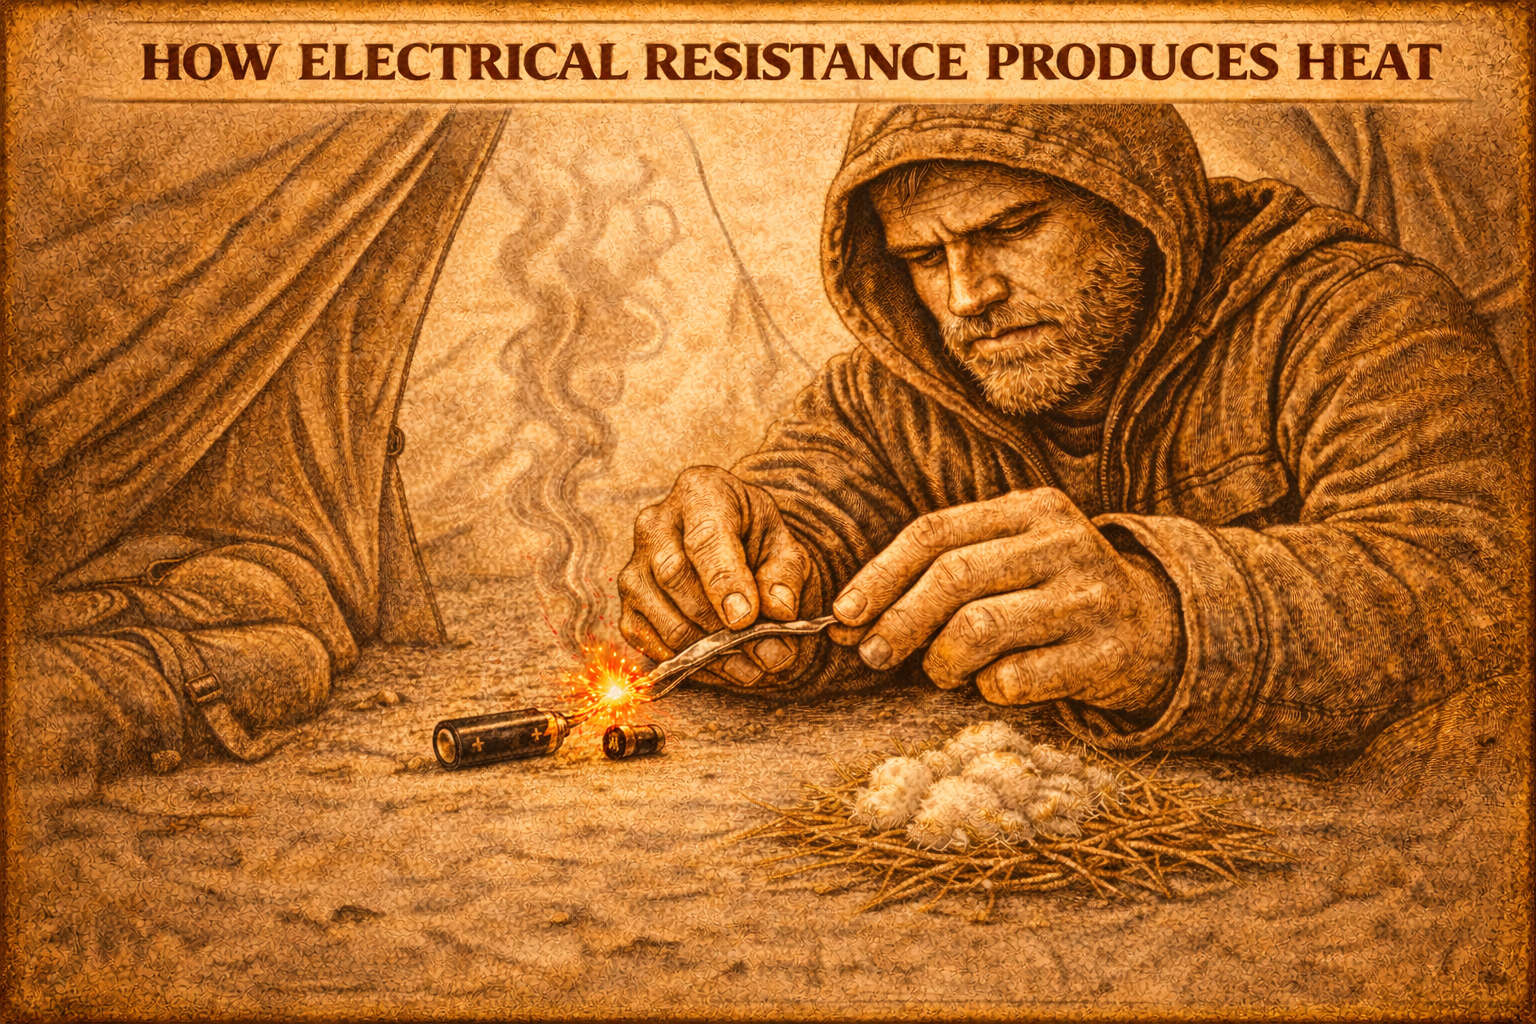
How to Start Fire With Foil & Battery: Skill 60
Earn every inch.
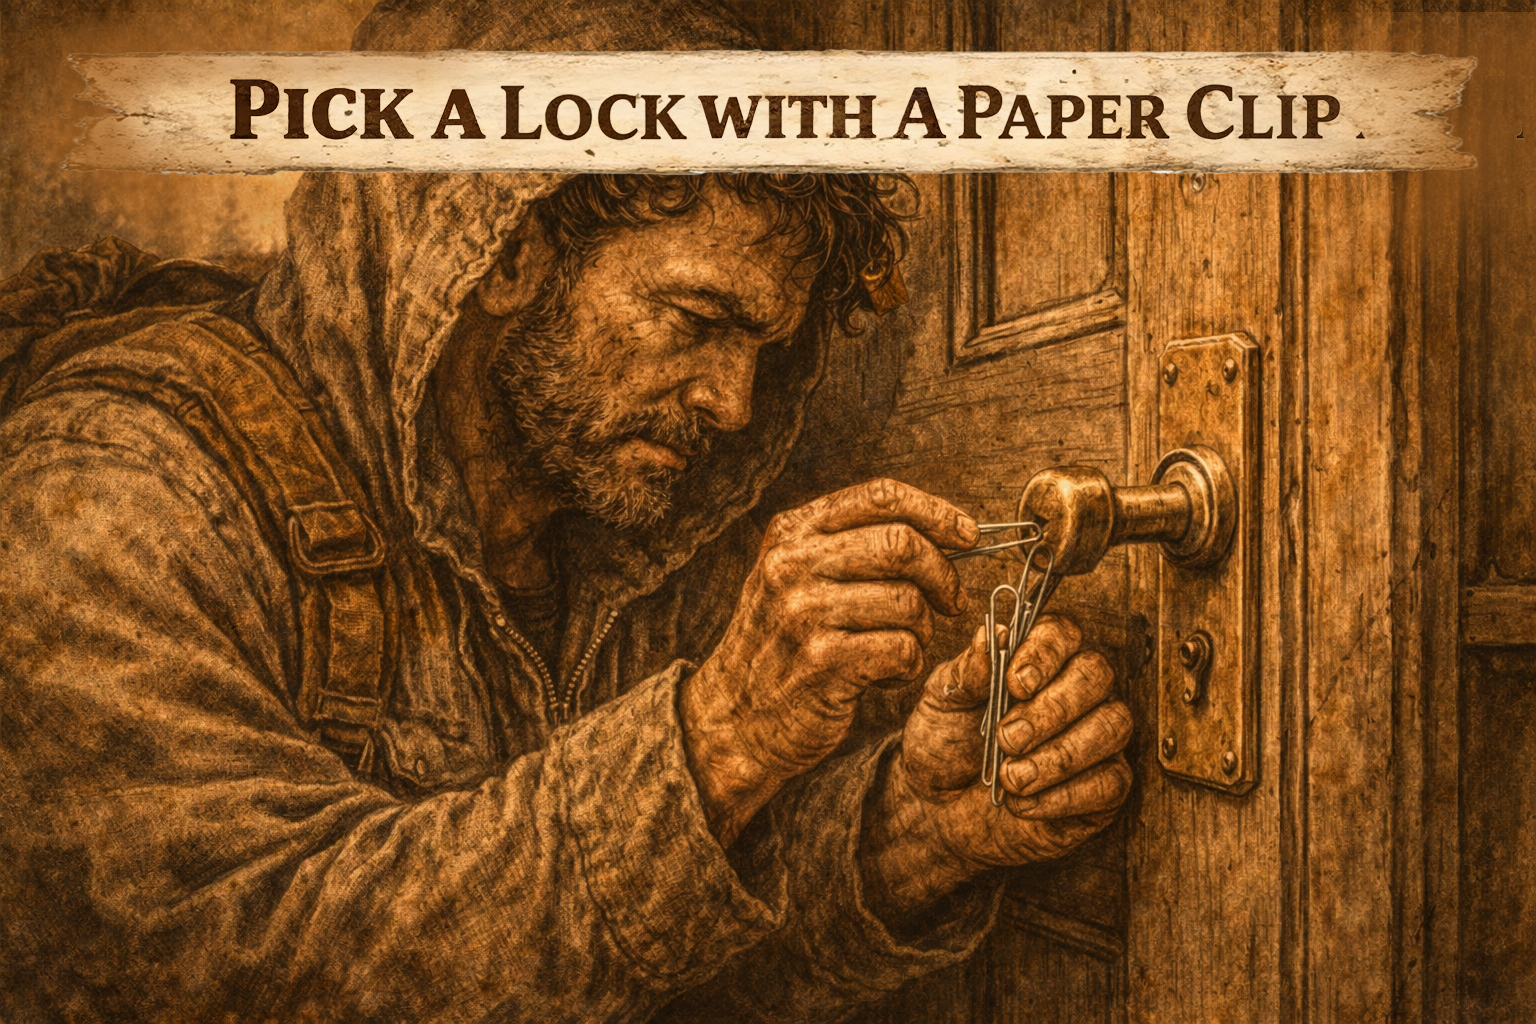
How to Pick a Lock With Paperclips: Skill 59
Keep going. No matter.
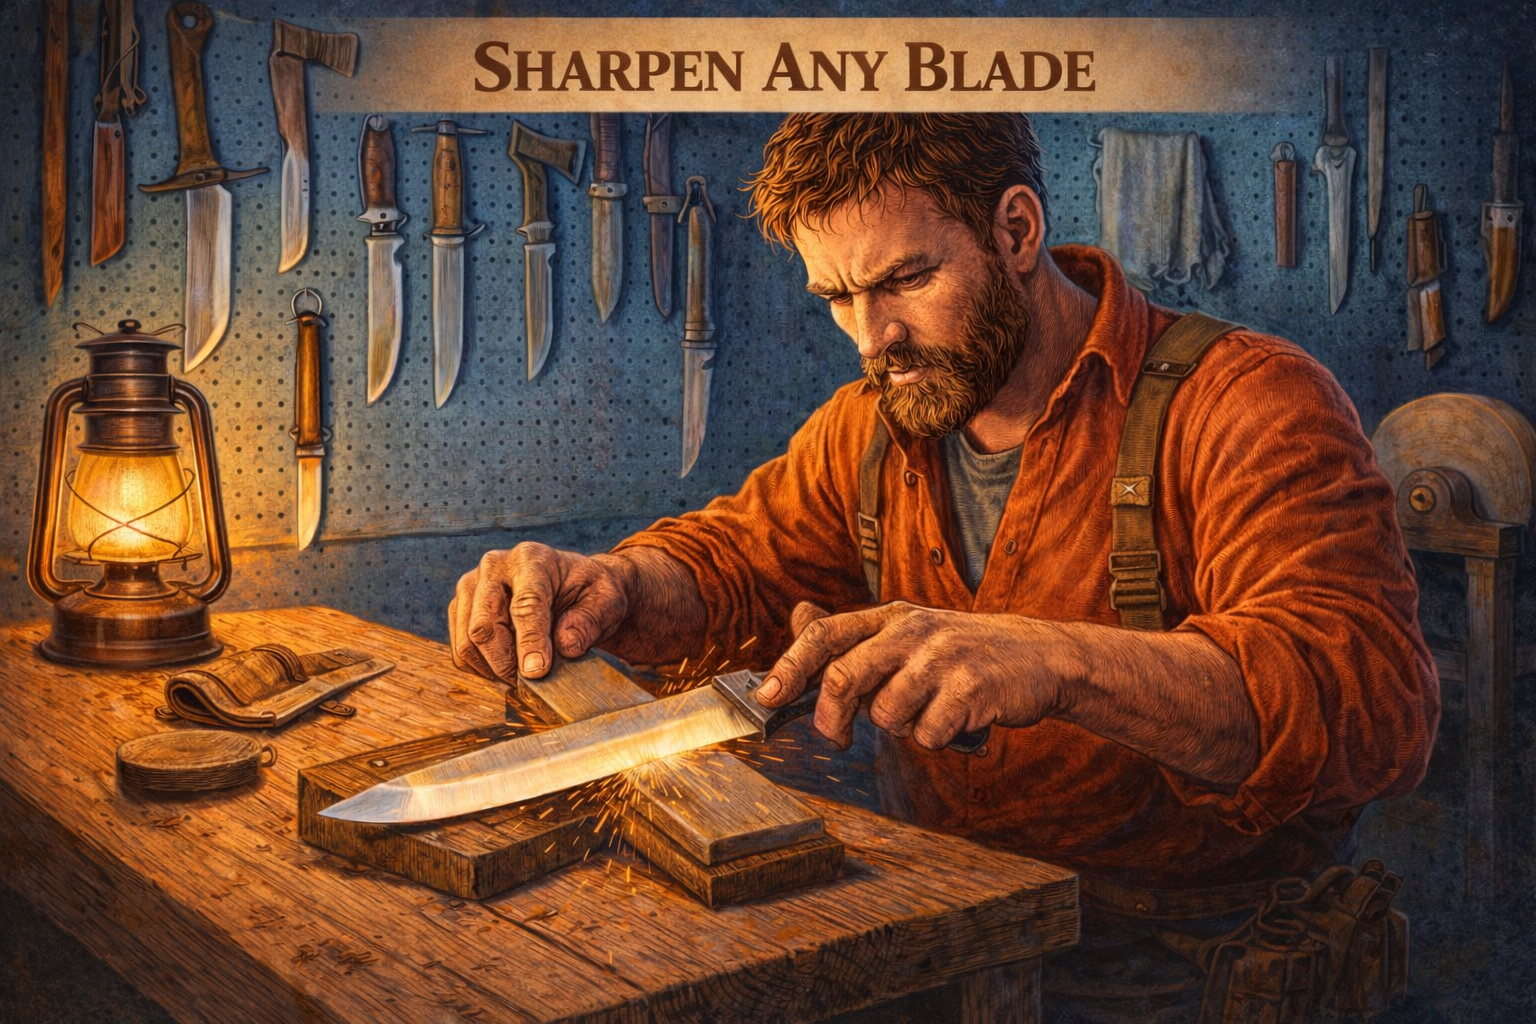
How to Sharpen Any Blade: Skill 58
Hunger builds champions.
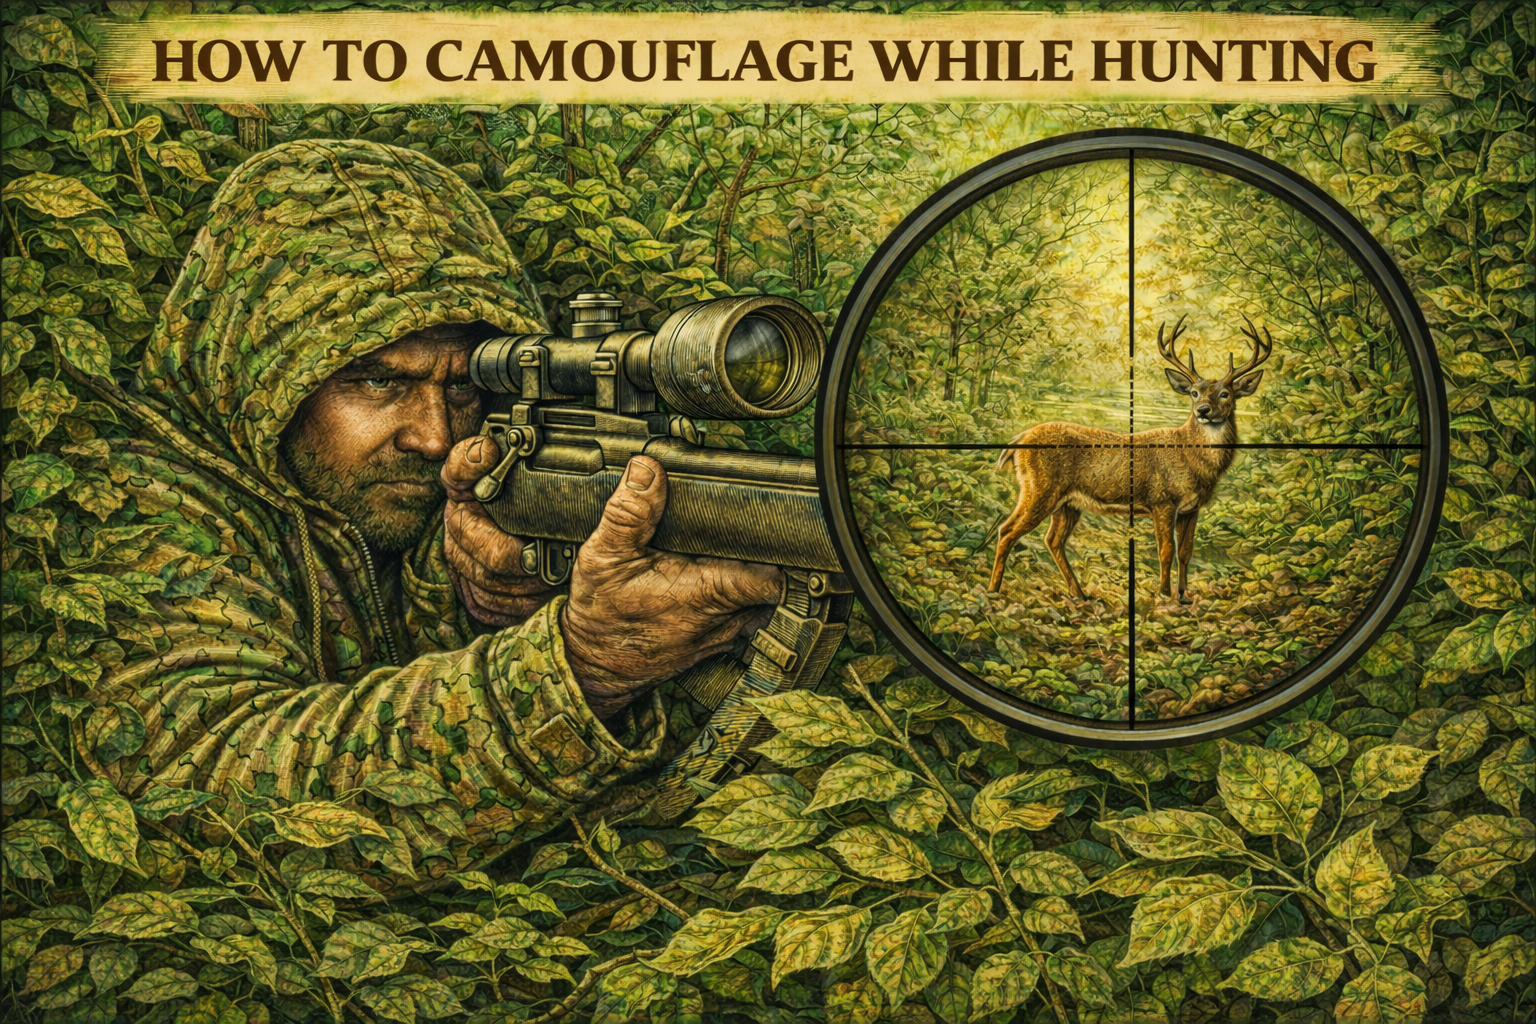
How to Camouflage While Hunting: Skill 57
Hide smart. Hunt smarter.